
Alright, let’s get right into keeping your Nerf guns looking and working great. You’re familiar with these fantastic blasters, right? They add so much excitement, whether it’s a friendly match inside or an energetic game outside.
But remember, like any valuable item, they need attention to stay in prime condition. So, take a moment, and let’s break down the steps on how to clean Nerf guns. These tools of fun and games, after all, require regular care to ensure they’re always ready for action.

Whether it’s a quick clean-up or a detailed check-up, every bit of maintenance helps in extending their life and keeping the joy uninterrupted. Let’s kick off this journey by making sure your blasters remain the stars of every game.
Tools We Need to Clean Nerf Guns
Getting ready to clean your Nerf guns is like preparing for a mini adventure. You want to ensure your blasters are always in the best shape for your next fun battle. Here’s what you need to gather:
- A soft cloth or microfiber towel
- Soft-bristled brush (a toothbrush is perfect)
- Rubbing alcohol or mineral spirits
- Can of compressed air
- Small Phillips head screwdriver
- A bit of hot glue for any necessary quick fixes
- A stripper for plastics, if you’re dealing with stubborn gunk on blaster plastic parts
Having the right tools makes the job easier and ensures your Nerf guns will continue to bring joy and excitement. It’s like giving your gear a little spa day; they’ll come out looking good and performing even better. So, with these items ready, you’re all set to keep your blasters in top-notch condition, ensuring they’re ready for action anytime you are.
How to Clean Nerf Guns: A Step-by-Step Guide
Maintaining your Nerf blasters isn’t just about keeping them looking sharp—it’s about ensuring they work their best for every game. Let’s dive into a detailed, step-by-step guide that’ll keep your arsenal in peak condition.
Step 1: Prep Your Work Area
First things first, you want a clean, clutter-free space to work. Spread out some newspaper or a cloth over your workspace to catch any spills or small parts. Choose a spot that’s bright enough for you to see the tiny details and has good airflow to dissipate any fumes from cleaning products.

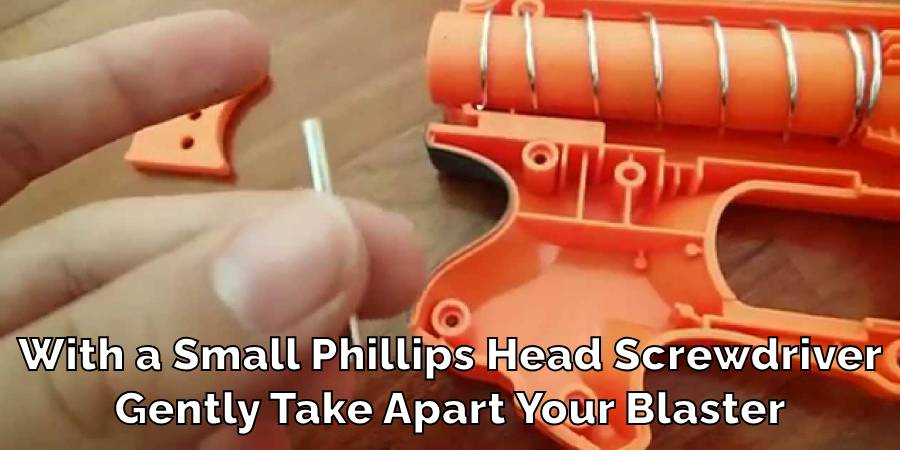
Step 2: Disassemble with Care
This step requires patience and precision. With a small Phillips head screwdriver, gently take apart your blaster. Documenting this process with photos or quick notes can be incredibly helpful for reassembly later. Keep screws and other small pieces organized in a container so nothing gets lost in the shuffle. Pay special attention to the barrel posts and barrel walls, as these are crucial for a smooth operation.
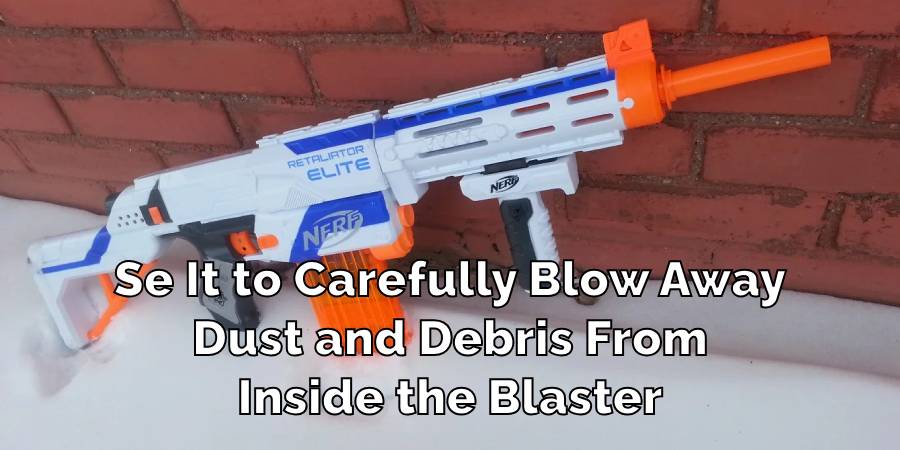
Step 3: Dust Off
Now, grab your can of compressed air. Use it to carefully blow away dust and debris from inside the blaster. Aim for a light touch, especially around sensitive internal mechanisms, to avoid any accidental damage. This includes giving special attention to the dart pusher and the stringer spring, which are vital for the blaster’s performance.
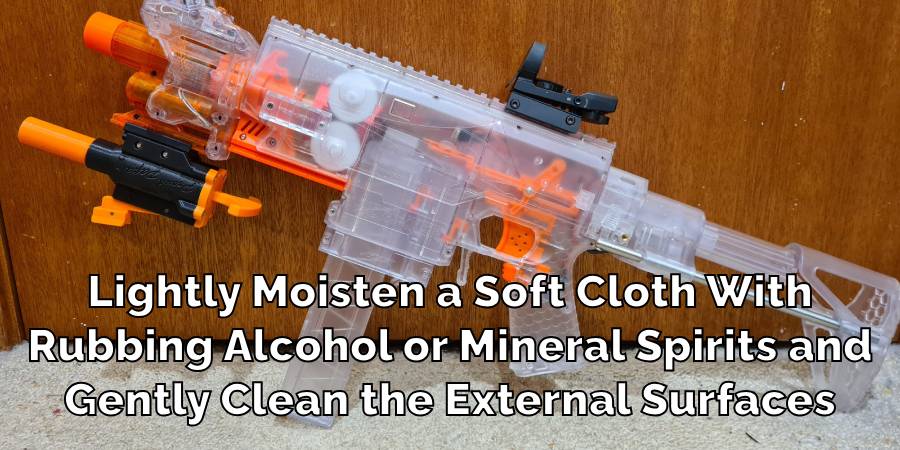
Step 4: Wipe Down
Next up, lightly moisten a soft cloth with rubbing alcohol or mineral spirits and gently clean the external surfaces as well as any internal areas you can reach without causing damage. This step helps tackle sticky residues and built-up gunk, particularly on the blaster plastic parts like the beige plastic endplate or the gray plastic plate. Remember, the cloth should be slightly damp, not wet, to prevent moisture from seeping into unwanted areas.
Step 5: Brush Away Stubborn Grime
Some dirt spots can be more stubborn. Here’s where your soft-bristled brush, like an old toothbrush, comes in handy. Gently scrub at these tough areas. The key is to be thorough yet gentle to avoid scratching or damaging your blaster. This includes taking care of the black pieces and gun pieces where grime can accumulate.
Step 6: Reassemble and Test
After everything is clean and dry, it’s time to put your Nerf gun back together. Refer back to your photos or notes to make sure every part goes back where it belongs. Once reassembled, do a quick test to ensure everything is working as it should. This not only checks the functionality but also ensures that your cleaning session hasn’t inadvertently affected the blaster’s performance.
In addition to these steps, it’s worth mentioning the importance of mods and customizations for those interested in Nerf modding.
Adding a powerful spring, upgrading to brass pipes for better barrel replacement, or even incorporating a laser pointer for improved aiming can significantly enhance your blaster’s performance. However, always remember to use alkaline batteries for any electronic modifications to ensure optimum power supply.
For those creating homemade darts or using custom darts, regular checks and maintenance are crucial. Ensure the Individual darts are in good shape and free from damage. Homemade darts, especially, require meticulous care to ensure they fit the barrel properly without causing barrel drag or affecting the time reloading negatively. Regular maintenance ensures these darts remain effective and safe to use during game time.
Safety Precautions
When it’s time to clean and maintain your gear, remember that safety should always come first. Here’s how to keep things safe and sound while you get your Nerf guns in top shape:
- Choose a Well-Ventilated Area: Always work in a spot where air can move freely. This helps ensure that any fumes from cleaning products, like rubbing alcohol, don’t linger and become a breathing hazard.
- Wear Protective Gloves: It’s wise to wear gloves to shield your hands from chemicals. This simple step can prevent skin irritation and ensure your hands stay clean.
- Consider Eye Protection: If your eyes tend to get irritated easily or if you’re working with sprays, wearing safety goggles can protect against accidental splashes.
- Read Product Labels: Before using any cleaning agent, take a moment to read its label. Understanding the proper usage and any warnings can help avoid mishaps.
- Keep Cleaning Products Away from Children and Pets: Make sure to store any chemicals out of reach once you’re done. This prevents any curious hands or paws from finding them.
- Dispose of Waste Properly: When you’re finished, dispose of any used clothes, paper towels, or other waste safely and responsibly.
Following these guidelines not only keeps you safe but also ensures that your cleaning session won’t be interrupted by any accidents. Plus, it sets a great example for younger Nerf enthusiasts about the importance of safety in all aspects of the hobby. Remember, taking a few extra precautions doesn’t slow you down—it keeps the fun going strong.
Handling Delicate Parts
When you dive into cleaning your Nerf gun, you’ll find some parts are more delicate than the rest. Components like springs, triggers, and gears play a big role in how your blaster operates, and they need a bit more care. Here’s how to handle these sensitive areas:
- Use Minimal Force: Applying too much pressure can cause damage, so it’s best to clean these parts with a light touch.
- Be Patient: Rushing through the cleaning process can lead to mistakes. Take your time, especially when you’re working with these crucial bits.
- Pick the Right Tools: Use tools that match the delicacy of the task. A soft-bristled brush or a can of compressed air can clean effectively without risking harm to sensitive components.
- Stay Informed: Know which parts of your blaster are prone to wear and tear. Understanding the role of each component can guide you on how to treat it gently.
- Regular Checks: While cleaning, it’s a good opportunity to check these delicate parts for wear or damage. Identifying issues early can save you from bigger problems down the line.
Remember, these fragile parts can greatly affect your Nerf gun’s functionality. Giving them the special attention they deserve not only keeps your blaster running smoothly but also extends its life. So, handle it with care, and your gear will be ready for many more battles to come.
Conclusion
Keeping your Nerf guns clean isn’t just about maintenance; it’s a labor of love. A clean blaster is a happy blaster and is more likely to serve you well during your most epic battles.
The process might take a bit of time and effort, but the rewards – a smoothly operating arsenal and the bragging rights of having the sleekest, most reliable gear on the block – are well worth it.
So, next time your blaster seems a bit under the weather, give it the care it deserves. After all, every marksman (or marksperson) knows the value of their trusted tool. Let the battles begin, with your newly refreshed Nerf arsenal leading the charge!

How Long Does Orbeez Take to Grow
Have you ever stood over a bowl filled with Orbeez, tapping your foot and whispering,…

How Do Nerf Guns Work
Nerf guns, often seen as simple toys, are fascinating examples of design and engineering. Many…

How to Clean Nerf Guns
Alright, let’s get right into keeping your Nerf guns looking and working great. You’re familiar…

How to Make Nerf Darts More Accurate
Alright, let’s kick off a chat on why the flight path of Nerf darts is…

Are Nerf Darts bad for The Environment?
Hey friends, let’s chat about something that’s been on my mind lately: “Are Nerf Darts…

Do All Nerf Guns Use The Same Darts
When delving into Nerf, a common question often arises: Do all Nerf guns use the…