

Are you a darts enthusiast looking to customize your game? Making your own dart flights can be a rewarding DIY project that not only saves you money but also allows you to personalize your darts to suit your style and improve your play.
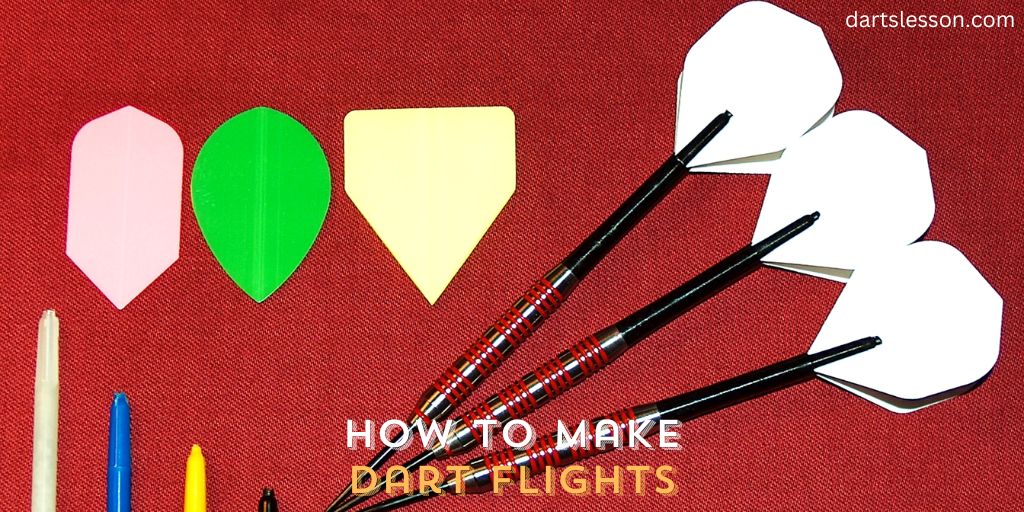
In this guide, we’ll walk you through how to make dart flights and the steps to create durable and stylish dart flights from scratch, ensuring your darts are as unique as your game.
Whether you’re a beginner or a seasoned player, these tips will help you make dart flights that are both functional and eye-catching.
Tools We Need to Make Dart Flights
- Template or Stencil: A flight shape template to trace your desired flight design.
- Scissors or a Craft Knife: To cut out the flights accurately.
- Flight Material: Thin card stock, plastic sheets, or any sturdy lightweight material suitable for flights.
- Ruler: To measure and ensure straight lines while cutting.
- Pencil or Fine Marker: For tracing the outline of the flights on your chosen material.
- Laminator and Laminating Sheets (optional): If you want to make your flights more durable.
- Hole Punch (for ring-style flights): To create a hole to snugly fit the dart’s shaft.
- Design Materials: Such as markers, stickers, or printed designs to customize the appearance of your flights.
How to Make Dart Flights
Making your own dart flights is a fun and practical project that can enhance your darts experience. Here’s a straightforward guide on how to do it:
Step 1: Choose Your Material
Start by selecting the material for your flights. Common choices include sturdy paper, thin card stock, or light plastic sheets. Each material has its own benefits, so pick one that suits your needs and preferences.
Step 2: Get the Right Tools
You will need a few basic tools: a sharp pair of scissors or a craft knife, a ruler for precise measurements, and a pencil or fine marker for tracing outlines.
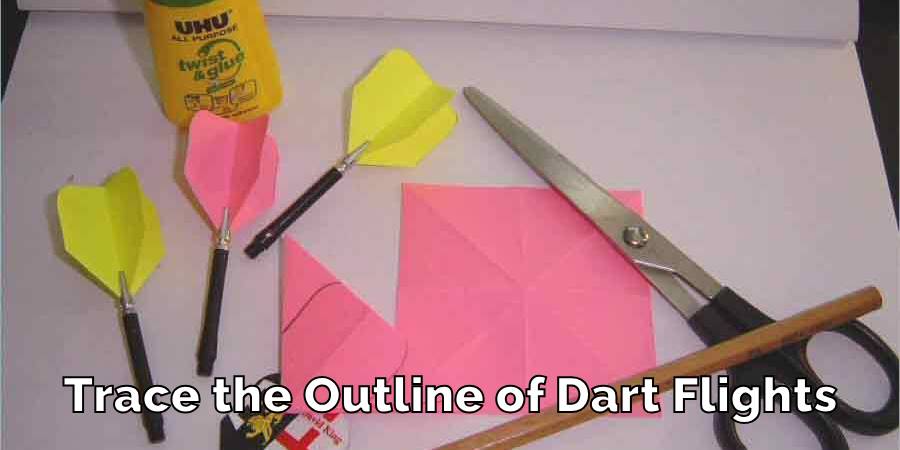
Step 3: Use a Template
Using a dart flight template, trace the shape onto your chosen material. You can find various templates online or create your own custom design.
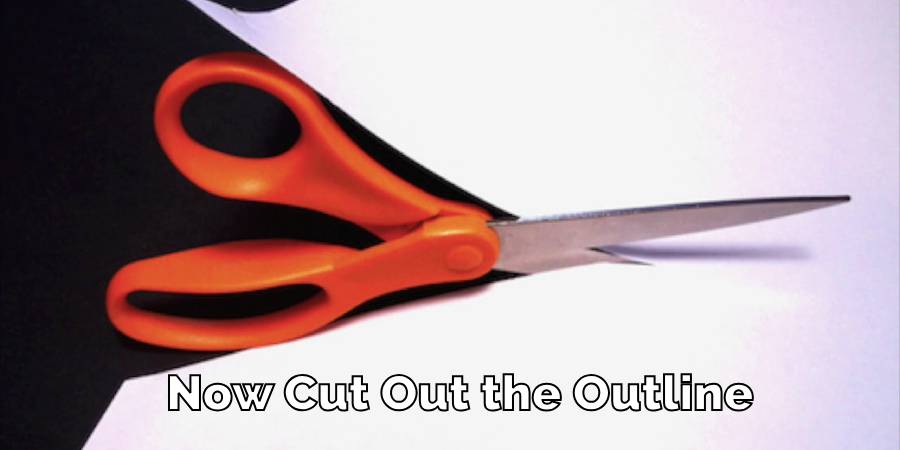
Step 4: Cut Out the Flights
Carefully cut along the lines you’ve traced to shape your flights. Make sure the edges are smooth and even for the best aerodynamic effect.
Step 5: Customize Your Design
This is where you can get creative. Decorate your flights with markers, stickers, or any other design elements that reflect your style.
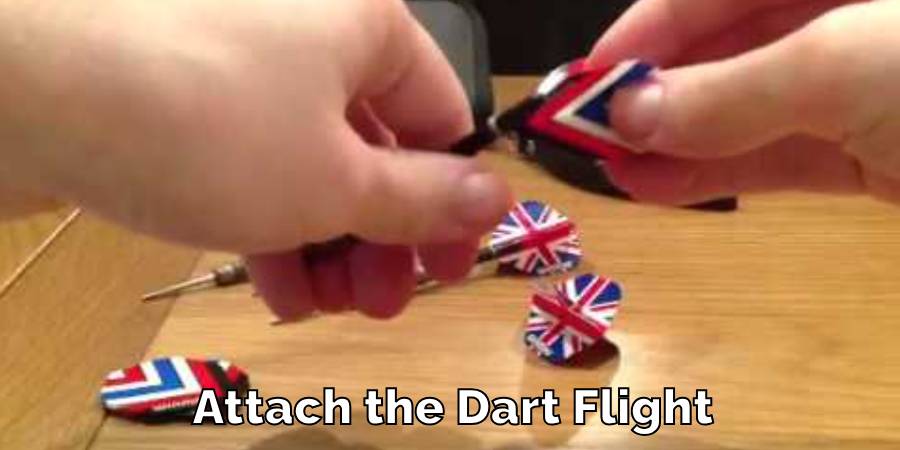
Step 6: Attach to Your Darts
Once your flights are ready, attach them to the back of your dart shafts. They should fit snugly and not wobble during play.
By following these steps, you’ll create personalized dart flights that not only look great but also improve the consistency of your throws. Give it a try and see how it can change your game!
Final Words
Creating your own dart flights is more than just a craft project; it’s a fantastic way to add a personal touch to your darts setup and enhance your playing experience. By following the simple steps outlined above, you can design flights that are not only unique but also tailored to your playing style.
Whether you’re playing casually with friends or in competitive matches, these custom flights will surely be a topic of conversation and a source of pride. So, grab your materials, and let’s get crafting—your next great dart game awaits with your very own, custom-made dart flights!
Read Also – How to Hang a Dartboard Outside